Monday, September 23, 2013

Polymer Clay Journal

A quick post today to show you my latest Polymer Clay Journal, it's a little busy but I like it.  I gave away most of the journal I made and need to restock.  They make nice gifts for friends and family. I have a drawer full of scraps from polymer clay sheets that I used in other projects, the scraps are what I used on this journal cover.


A different angle I textured the background with sandpaper and added shaded glimmer with PearlEx.


Close up of the birdie. I used a rubber texture sheet for the background on the birds body, she looks good in aqua swirls don't you think?


I aso finished a couple pendants.  I made beads to go with this one.


Closer looks at the pendant.


This is how I finished the back.


I added a wire leaf to this mica shift tile and used the top of the leaf for a bail. I wired the leaf in place....


....then concealed the wire on the back with a piece of textured clay.


That's it for today.

Thanks for stopping by.

Friday, September 20, 2013

Polymer Clay Pencil Holder with Inchies

Just a quick fly by to show you how I used some of my Swap Inchies.  I had this jar with 6 flat sides that I've been using as a pencil holder..... "hum" I thought "why not cover it with scrap clay and glue on Inchies"   so that is what I did.  


I have it sitting on my work table, it makes me smile every time I look at it.  Now I am digging through my pantry and frig looking for more flat sided jars.

Please Note: You will know you are addicted to claying when you start buying food for the containers rather than what they contain.  

Speaking of food.... I know this isn't a food blog but that's okay, I wanted to share a quick easy way to make Light as a Feather Dumplings.   My grandma use to make the very best beans and dumplings, she didn't write down her recipe but my brother came up with this one that tastes very much like the dumplings she use to make.

I use these with all kinds of soups and stews..... this time I made Chicken Potato Soup


Mixed up the dumplings....

2 cups Bisquick
3 large eggs

Put the Bisquick in a mixing bowl.  In a separate bowl beat the eggs and add salt to taste. I use about 1/2 teaspoon of salt and if you like pepper add it to the egg mixture.  Pour the eggs into the Bisquick and mix with a spoon.. do not use a mixer.   Drop by spoonfuls into the gently boiling soup.  Cook uncovered for 10 minutes, cover and cook an additional 10 minutes. Remove from the heat.  Don't over cook or the dumplings will be tough and we don't want that!


Serve with a slice of your favorite bread and a simple salad.


Enjoy!

That's it for today. Thanks for stopping by. 


Wednesday, September 18, 2013

Polymer Clay Inchie Swap

I thought I better do this before I forget.... I recently took part in an Inchie Swap on Facebook.  I signed up to make two sets..... a dozen in each set.

These are the ones I sent.

                                                                        Set One:

                                                                          Set Two


And here are the sets I got back. 

Set One:


                                                                      Set Two


I enjoy swapping. I like making the items and sending them off to new friends all over the world and I especially love receiving and opening the packages.  I don't belong to a guild or go to any of the retreats and I've never taken a class so this is my way of connecting with other polymer clay artists.  I've been trying to come up with a clever way to display all my little treasures .... do you have any suggestions?

Okay , I am off  to play with clay. That's it for today. 

Thanks for stopping by.  

Sunday, September 15, 2013

Polymer Clay Beads

This week I made bead sets and a couple pendants.  First I want to show you how I finished the backs of the Bib necklaces.  I took Monique's advise, cover the exposed brads with little clay hearts and popped it back in the oven....

Please note,  the heat will fuse the tiles together..... it didn't matter on this necklace...


.....but it would on this one so I place strips of parchment paper between the tiles and immediately upon removal from the oven I moved the tiles around making sure they did not stick together .


Here is how the back looks.  When the necklace cooled I tested the stability of the little circles covering the wire, they came off  with very little effort so  I popped them off with my fingernail and reattached them with glue.  The brads on the first one were more flush to the tiles so the little hearts didn't need to be glued.


Now... on to the beads I made.

I used a flower cane end to make round and capsule beads.


Close up of the capsule beads. I really like these, they are dainty little beads.


I made small round and oval beads to go with small shimmery tiles.  The little oval beads are layered with pearly green in the center and silvery shimmers on each side.   Once I sand the sides of the tiles  I will put together a necklace.


Patchwork Beads made from a cane I created by combing several other canes. It reminds me of a patchwork quilt..... hence the name.


Closer look at the beads.


Layered Heart Pendant.


I did complete one necklace.  Heather took the photos when she listed it on Etsy.  She has a light box set up downstairs where she takes the photos for our Etsy shops.  My photos are not as good.... I take them in my studio.  I could go downstairs but I it's way to much work.... and going downstairs with my hands full is hazardous to my health.  

The pendant is in shades of teal.  I used silver rubber cord to string it on.


Both sides are decorated with textured hearts and circles.


That's it for now.   Next time I will show you the Inchie tiles I sent and received for the Swap, they are pretty cool!!

Thanks for stopping by and a "Big Thank You" to Monique for helping with my Bib necklaces.  The good folks in the Polymer Clay community are the best, always willing to help and share their knowledge.

Monday, September 9, 2013

Bib Style Polymer Clay Necklaces

I am on a roll.... blogged 2 days in a row!! Of course it helped that I already had the photos taken, that is usually what slows me down.

I guess this first one would qualify as a "bib style" necklace.  The pendant is wide, almost 5" . I was playing around with some of my texture samples. I used Jacquard Ribbon to texture the background strip then decorated it with one of oval texture tiles that I made with a plastic mesh bag and used 3  inchie tiles as the main attraction.  I glued them in place and then secured them with wire that is hidden by the various beads.  I made the chain links with rainbow fluorite and rose quartz beads on copper wire.


Here is how it hangs on the display. I made a hook and eye clasp.  I have a bit of arthritis in my hands and the hook and eye clasp is easier for me to get on and off.


This next one is a mixed media Bib Necklace made from asymmetrical mica shift tiles, hammered wire swirls and textured metal beads.


I joined the tiles together with small brads.  I was concerned the brads would snag clothing on the back but they smoothed down flush with the back of tiles and when I run my finger across the back they feel pretty smooth.


Here is a another look at the front.  The wire gives the pendant stability.  It measures approximately 5 1/2" across.  I used textured metal beads to make the links for the chain.


 This last necklace is made from a set of Skinner Blend Tiles  I made a couple years ago, (if you would like to see how I made them click on the link).... I joined the tiles together with head pins and beads.


I made loops on the back and folded them over.  I wish they were more flush but that is the best I could do.  I couldn't use the little brads on this one, the tiles are to thick.


Now I am back to making beads.  I want something in green.

Thats it for today.

Thanks for stopping by.


Sunday, September 8, 2013

More Jewelry for Fall

I know, I got behind on my blogging again...time just gets away from me. I made more jewelry I want to show you.  There is enough here for two or most posts but my blogging track record hasn't been to good lately so I better just show you everything now....  so here goes.

Click on the photos for a closer look.

I had a heart left over from the necklace I showed last time so I made this simple little pendant and strung it on a red ball chain.


I love these stamped metal beads, I combined them with polymer clay beads and made these two necklace.


and I made matching earrings.  I added cone shaped drops to this pair.....


and beads that match the necklace for this pair.


It took me 4 tries to make this necklace. At first I was using green wire and a lot more of the flower beads, I thought the green would be more suitable for fall but it didn't look right, ....  I was using more of the flower beads... way to busy.... I liked it much better when I cut back on the beads, switched to rose gold wire and the smaller glass pearl beads.


Here is a closer look at the beads. The pendant is hollow so it is light weight and is textured on the back.


I used lavender and burgundy wire to accent this Lantern Bead necklace and earrings.


Some time ago I made little heart beads with my  Valerie Cutters  I used them to make these mixed media pendants.


I made a necklace with the set of tube beads I posted last time.  I combined them with colored wire and complimentary glass beads.  I made a hook and eye clasp,


I've had these swirlie bead for a very long time.  I was digging through another box and found this ripple tile, then I spotted the round striped beads, they all looked good together so I added satin finished beads, silver spacer beads and the colored wire..... and this necklace is the end result.


The pendant needed something....  I drilled a couple hole and  added the drops, much better now don't you think?


This was an experiment.  The diamond shaped tiles are from  texture samples I made from mesh bags, I  joined them together by over lapping the points and securing them with headpins. I used beads on the front for a more pleasing look and to keep the head pins from slipping through the holes.

here is a closer look.


On the back I made loops and folded them over.  Works fairly well although I would like for the loops to be more flush.  Any suggestions?  I may try covering them with clay and see how that works.


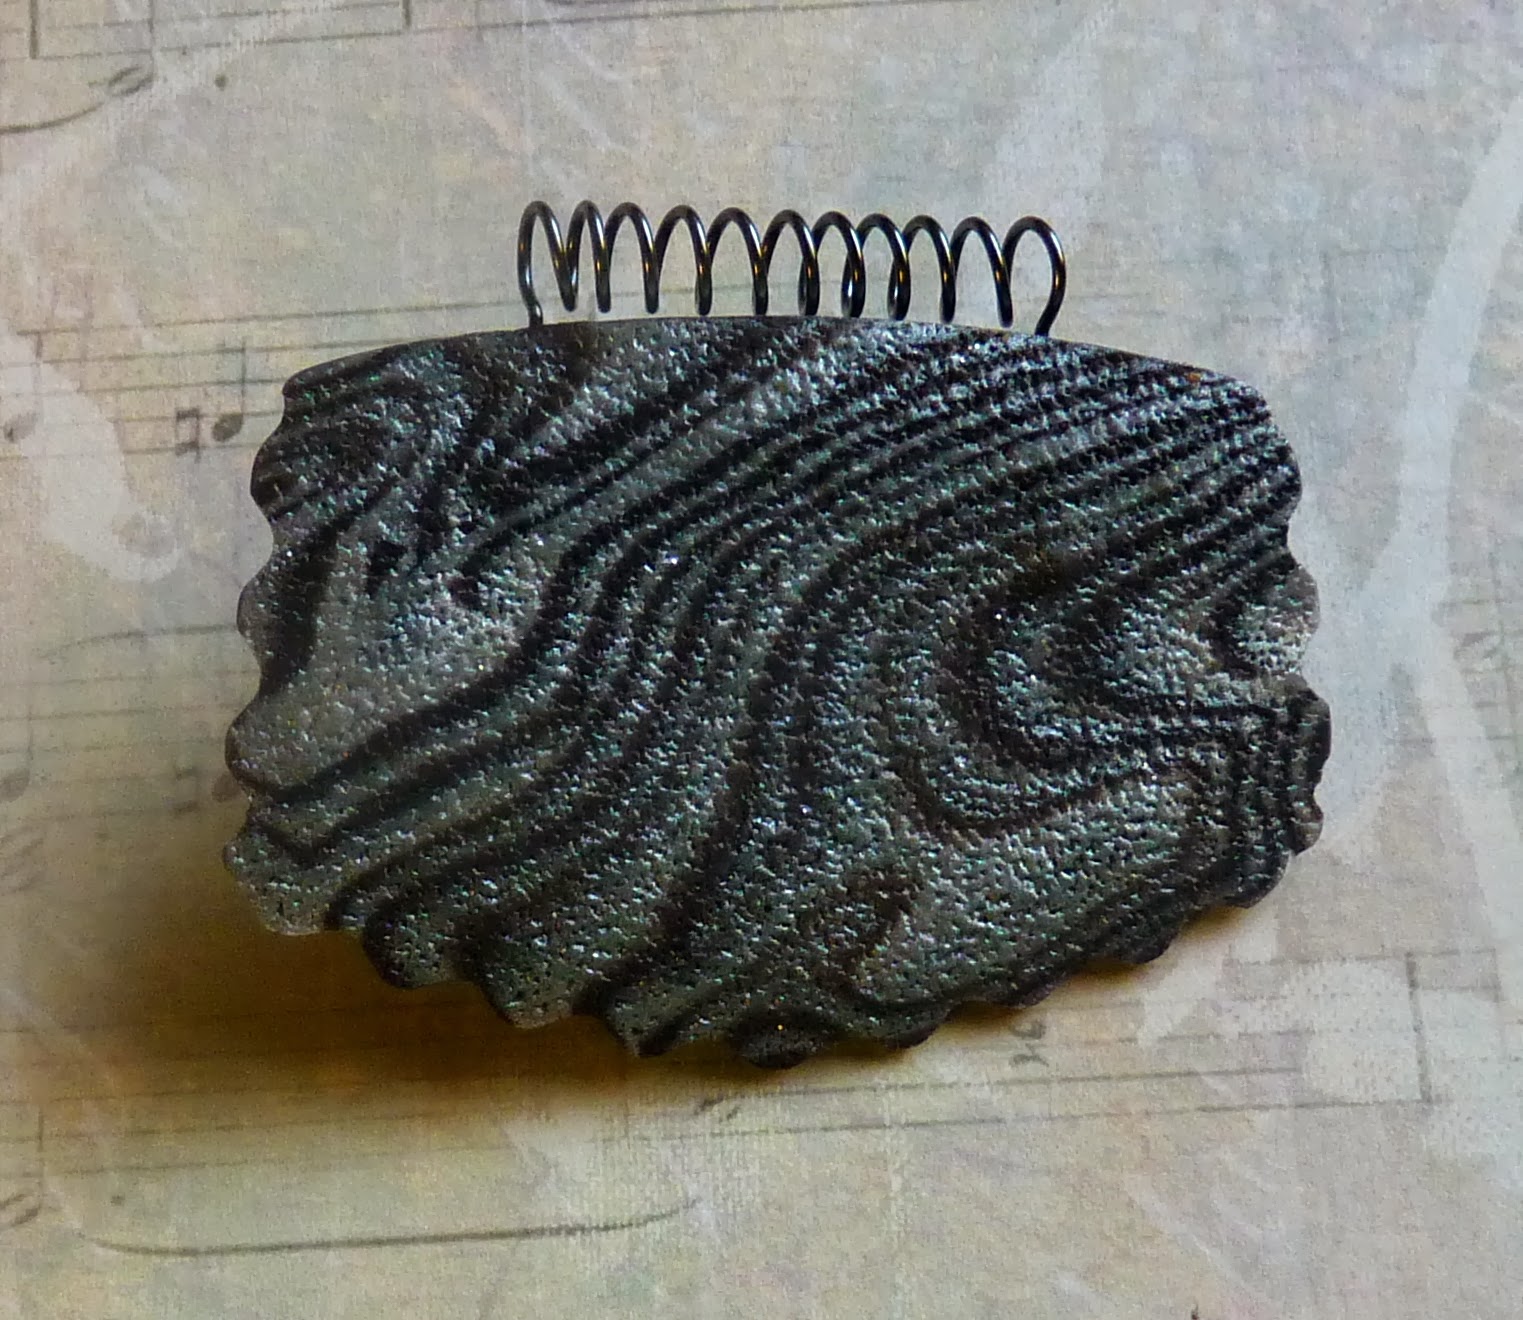
On this pendant I  made the wire and bead doodad first and then went looking for a tile to mount it on.  This one with a tropical leafy design seemed to work.   I attached the wire piece to the tile with 28 gauge wire.


The wire was exposed on the back so I made a textured sheet, cut a piece to cover the wire and rolled the top down to make a bail.


I strung it on a matching ball chain.... not crazy about how it looks on the chain,  I may change it to a satin or cotton cord.


This was another experiment. I have lots of short pieces of ball chain. I wanted to see if I could embed them in clay.  So far so good.  I think I embedded it deep enough that it won't come loose.


I added a Swarovski rhinestone in the center for a little bling.  I made two holes through the bead and enclosed the ball chain in place by pressing down on the bead... plus I  drizzled a little liquid clay around the chain to keep it in place.


I have a few more pieces to show you but I'm getting a crick in my neck so they will have to wait.... hopefully tomorrow.... or maybe after I take a nap.

Thats it for  today.

Thanks for stopping