
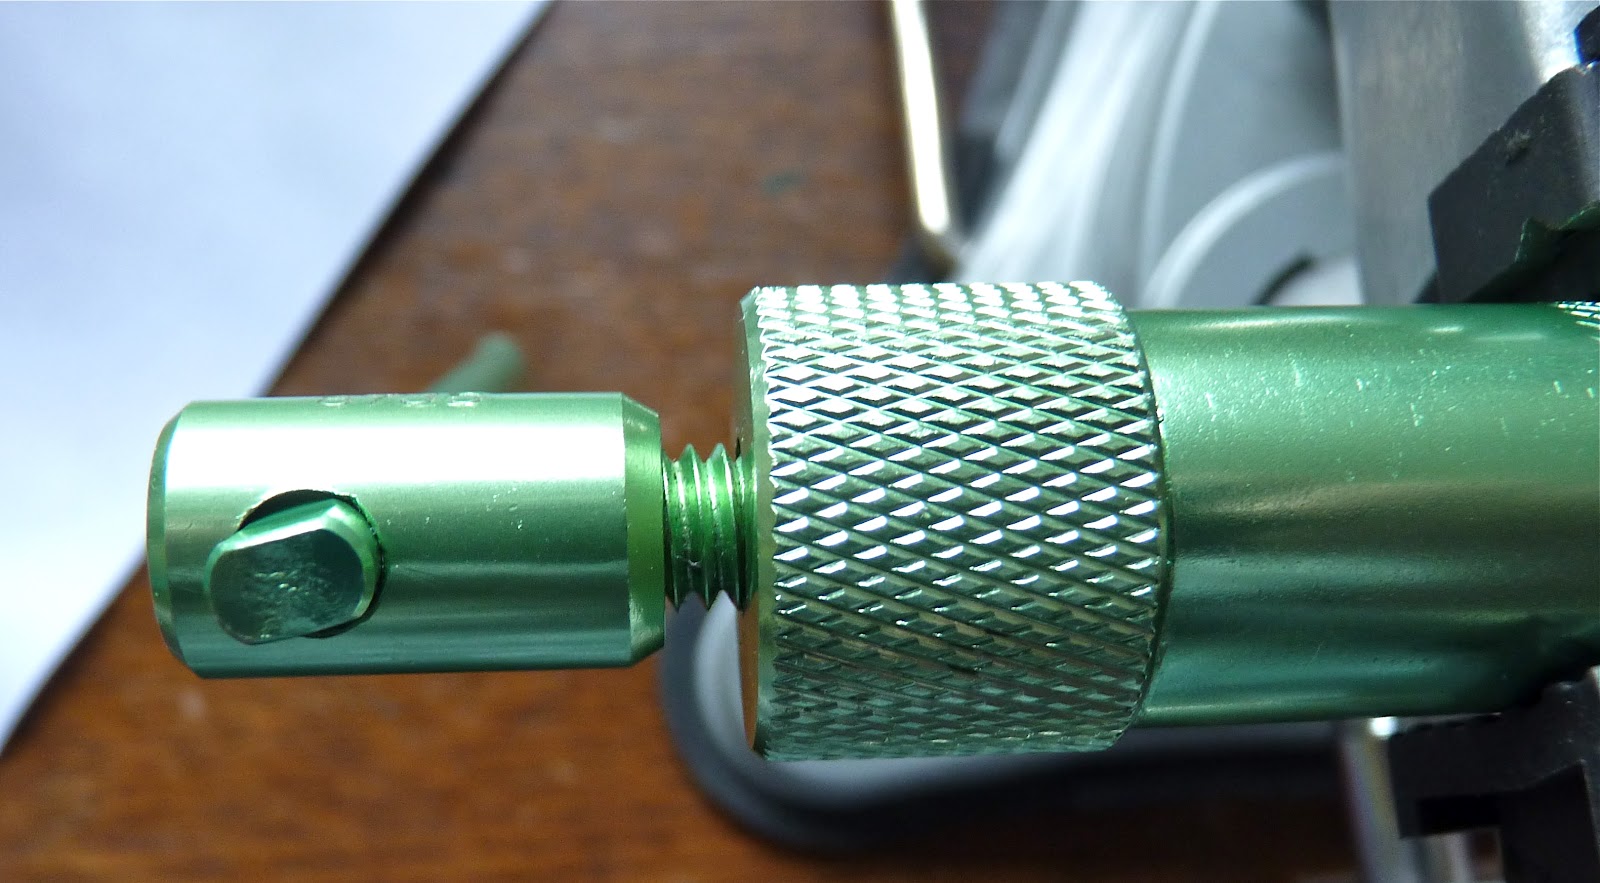
First of all you will need a pasta machine, mine is a "Monafied" Atlas so I will be referring to the settings on it. And you will need a good extruder. I use a "Makin's Professional Ultimate Clay Extruder" and a "Workzone" vise. The vise isn't a must, you can turn the extruder by hand but I'm old and have arthritis in my wrist so the vise saves a lot of moaning and groaning.. it works for me.
You will need to select your colors. I used shades of purple for this cane. You will need 3 shades of whatever color you choose, (or you can use 3 different colors) one dark, one medium and one light. I mixed colors to match a paint sample, you can see a portion of it above the cane. I use a combination of clays to get the right consistence. The new Premo and new Kato are both very soft for caning so I add other firmer clays, like older formula Kato translucent and/or white Pardo Art Clay (the kind in the blister packs, not the jars). You can also leach the clay until it becomes firmer but I don't have the patience to leach. You want the clay to be firm enough to not squish when you work with it but not so firm that it's difficult to put though the extruder.... like Goldilocks you want it to be "just right".
First I made 2 bullseye canes and a jellyroll cane. One bullseye cane is the light color with a dark border, the other has a dark center with a light border. To make the bullseye cane roll a log of light clay, run a sheet of the dark clay though the pasta machine to the #4 width and surround the log, do the same with the dark log and light border.
I made the jellyroll cane with long strips of all three colors, place the strips on top of each other and roll them up like a jellyroll. Then add a border with one row of light clay and an outside row in the medium color. If you need visuals, there are free tutorials on how to make both bullseye & jellyroll canes... just Google them.

Each of the canes should be approximately 1/2" wide and 3" long.

Using the square disk for the extruder insert the jellyroll cane into the barrel of the extruder. Make a 1/4" plug of the medium color clay and place it in the end of the extruder. If you don't use the plug the first part of the clay that comes out of the extruder is distorted, the plug avoids wasting the design. It also just occurred to me that I should have made a plug for the other end of the cane for the same reason... sheez, wish I'd thought of that earlier.


The extruded cane will be quite long so you will need a long area where you can lay it flat. I have two work areas, one where I sit and one where I can stand. The standing area is an antique postal desk so it is long enough for me to lay out long canes. I put down parchment paper beside my work area to lay the cane on and keep it clean.
Trim the first 1 1/2" To 2" off the end, that will be the"plug" and any distortion to the jellyroll cane.

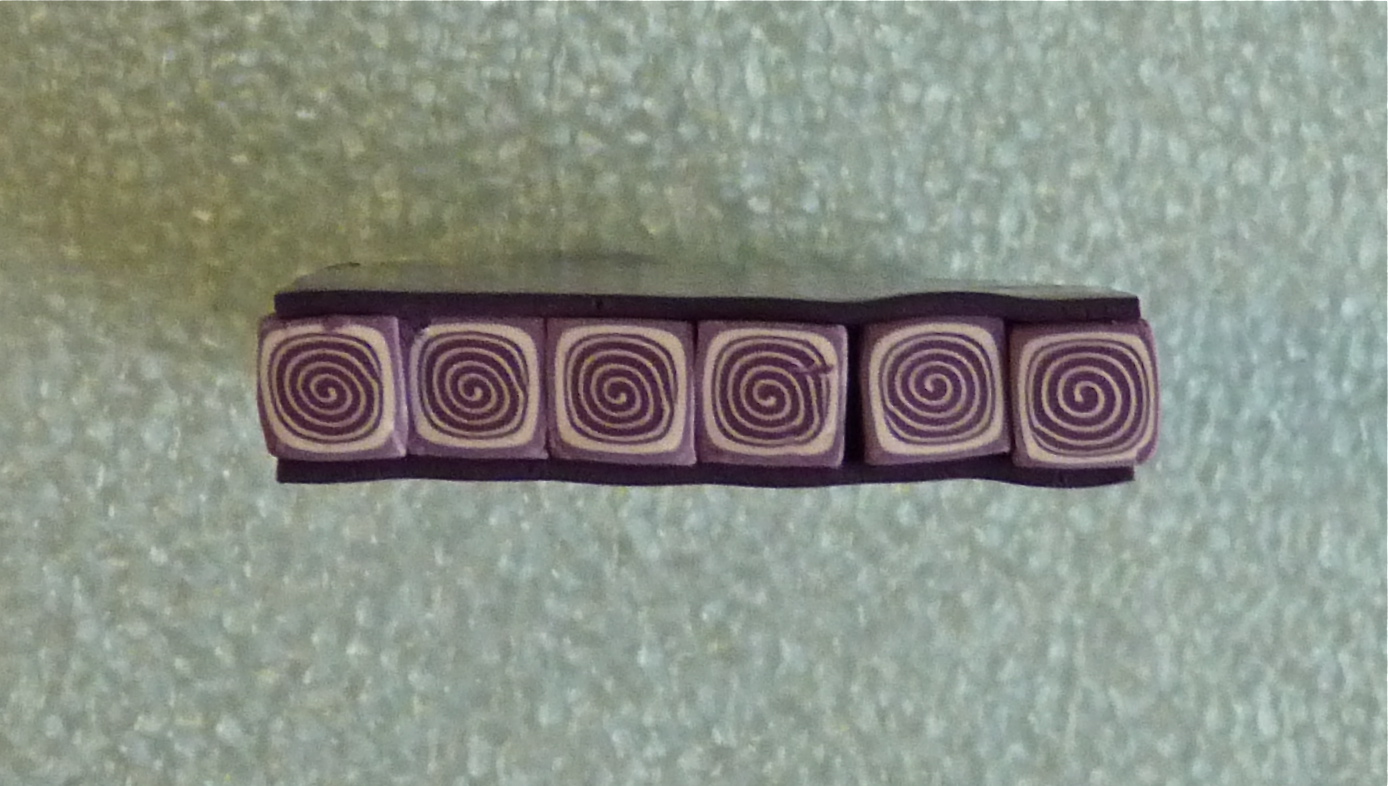
Cut the extruded cane into 2" lengths

Lay them side by side

Here is how they look from the end.

Run a 2" strip of the darkest clay though the pasta machine to the #4 setting. Lay it on the work area below the canes.


Trim the sides of the sheet with your blade.....

....and again using your cutting blade pick it up, flip it over and place the uncovered side of the canes on the clay strip. Smooth the sheets in place and work out any air bubbles.
.

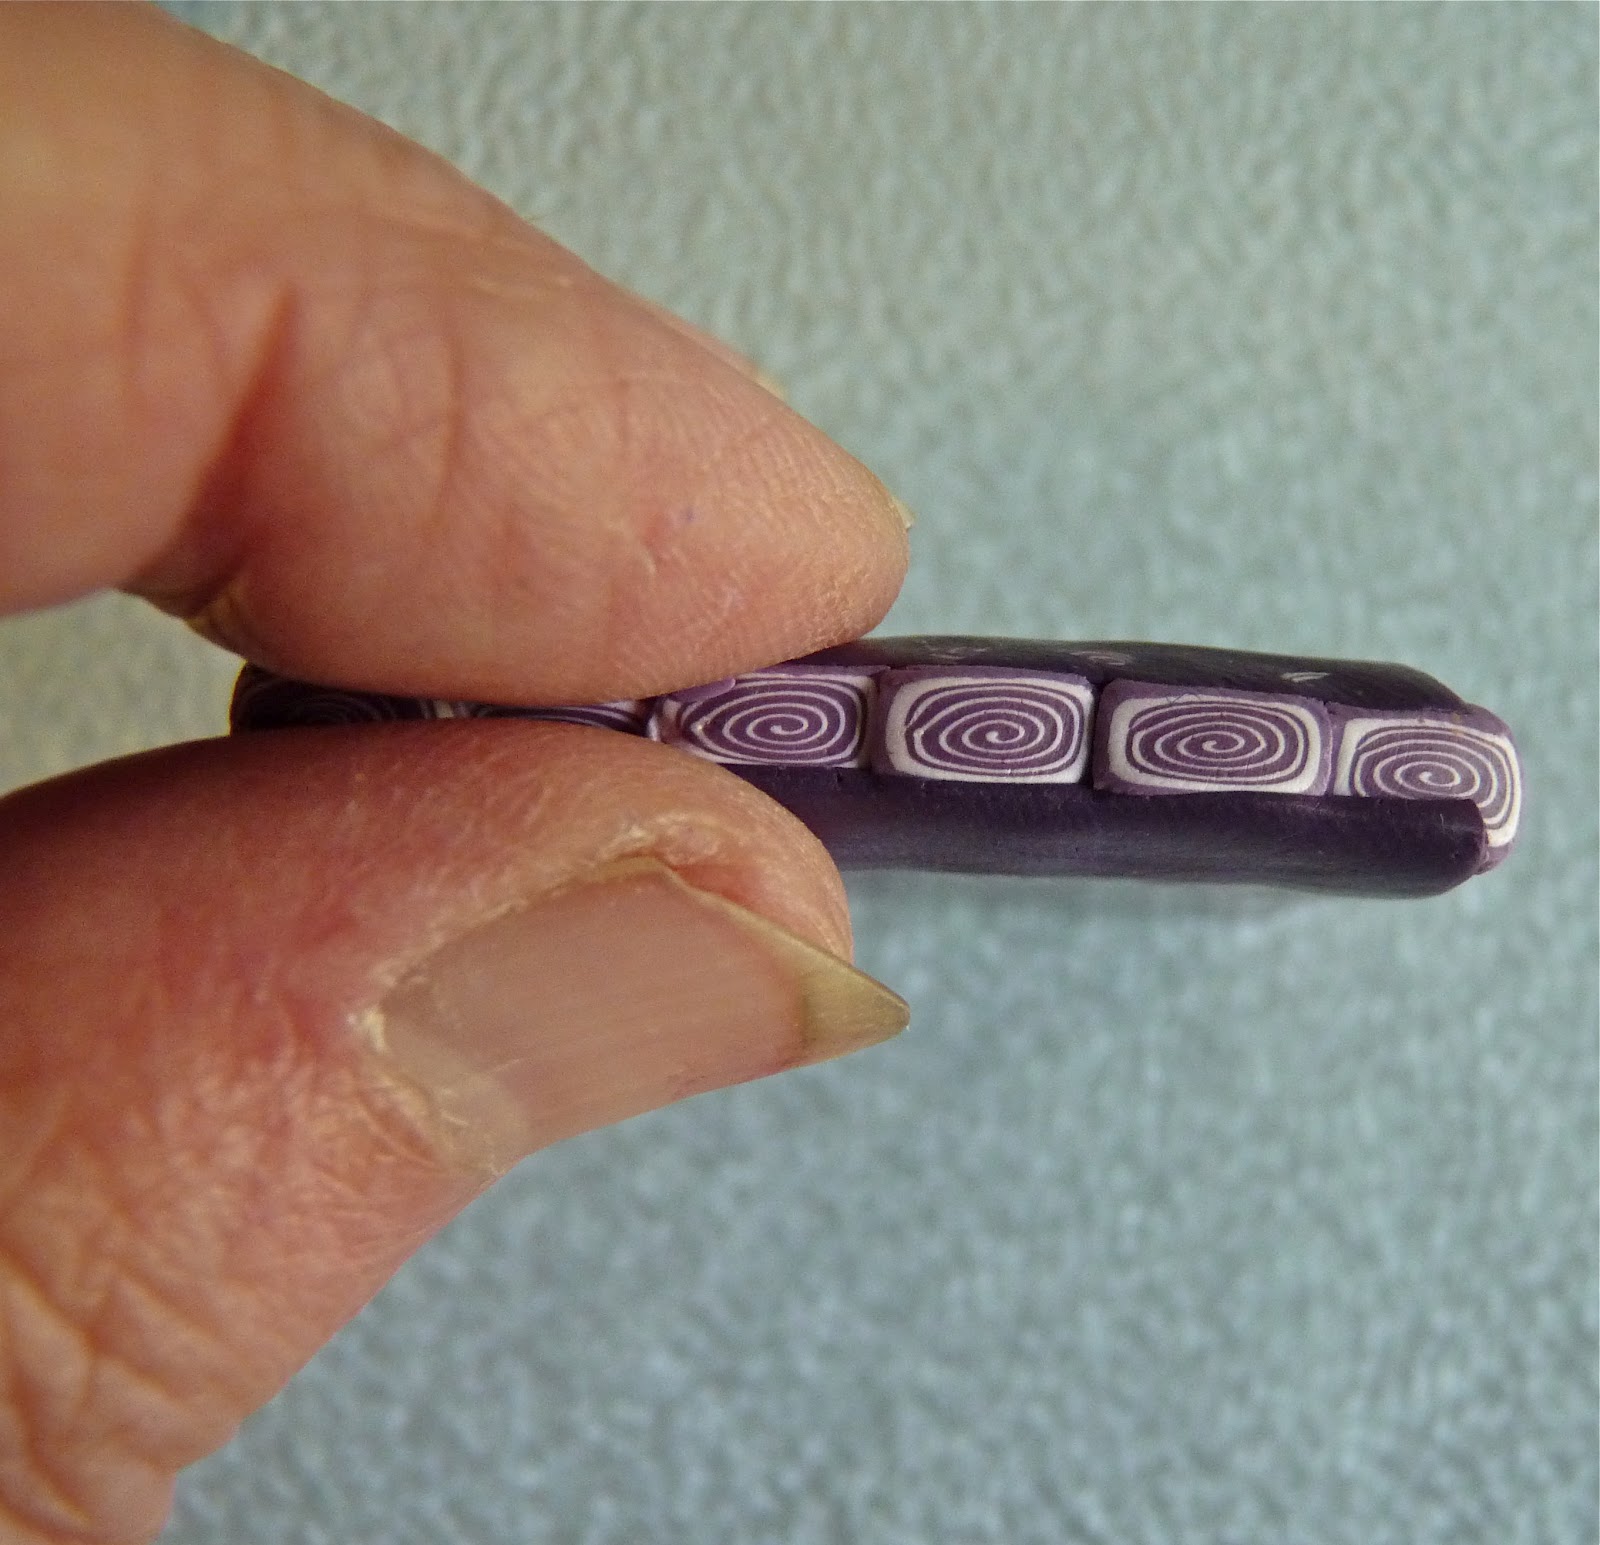
Now pick up the row of canes and gently pinch one end.. like so. Yikes! don't look at my ugly fingers and nails, I've been working in the yard.
Run the strip through the pasta machine on the #1 setting, pinched end first. Take care to insert it evenly to prevent distortion. Lay it out flat on the work area.

Trim the ends.

Cut in half and set aside.

Change the disk in the extruder to the equilateral triangle and get out the bullseye canes.

Insert one of the bullseye canes in the extruder, remembering to place a plug of the border color at the end of the cane. If it is difficult to slide the cane into the extruder lightly dust it with corn starch. I use a cotton hanky filled with cornstarch to dust a little onto the cane.

This extruded cane is going to be twice as long as the square one so extrude slowly so it won't kink or break. Lay it out flat and cut into 2" lengths.

You should have 2 sets with 6 2" pieces in each set.

Now do the same with the other bullseye cane..... don't forget the plug....

Cut two sets of 6 to go with the others from the first triangle canes. I had a couple extra, I can play with those later.

Place the dark triangles in between the light triangles making sure that both ends line up properly. Press them together.

Trim the ends.

Run a 2" x 2" sheet of the lightest color clay through the pasta machine to the #4 setting and do the same with a 2" x 2" sheet of the darkest clay. Place both sheets on the work area. Place the triangle canes, light side down, on top of the dark sheet and trim. Slide the blade under the clay flip over onto the light sheet and trim as before.... clear as mud right, sorry.... I forgot to take the photos, the end product should look like this.

Now do the same with the 2nd set of triangle canes. Pinch one end like before.....

....and run through the pasta machine, pinched end first. Do the same with the 2nd row of triangle canes. As you can see, the 2nd one went a little wonky so I had to trim off that end. Trim the ends on both sheets. .

The sides are ragged, I will take care of that later. Cut each sheet in half.

Take the 2 pieces from the first sheet and fit together like so..... do the same with the 2 pieces from the second sheet. Set these aside for now.

Roll out sheets of light, medium and dark clay to #4 on the pasta machine. Cut two 1 1/2" squares of light, two 1 1/2" squares of medium, and one 1 1/2" square of the dark Assemble the center of the border cane by placing the squares on top of each other... light, medium, dark (in the center) then medium and light.

Here is how they line up from the side.

Now we are ready to assemble the border cane. Lay one of the jellyroll sheets on the work area, place the stripe center cane on top of one of the jellyroll canes and trim off the excess jellyroll cane.

Flip it over and lay on top of the 2nd jellyroll sheet and trim the excess once again.

This is how it looks so far.

Now put the triangle sheets on each side.... like this. and trim the ends.

The sides are ragged so stand the cane on end......

and trim the sides. I usually don't have to trim as much as this but all the sheets came out of the pasta machine with ragged sides and they need to be cleaned up.

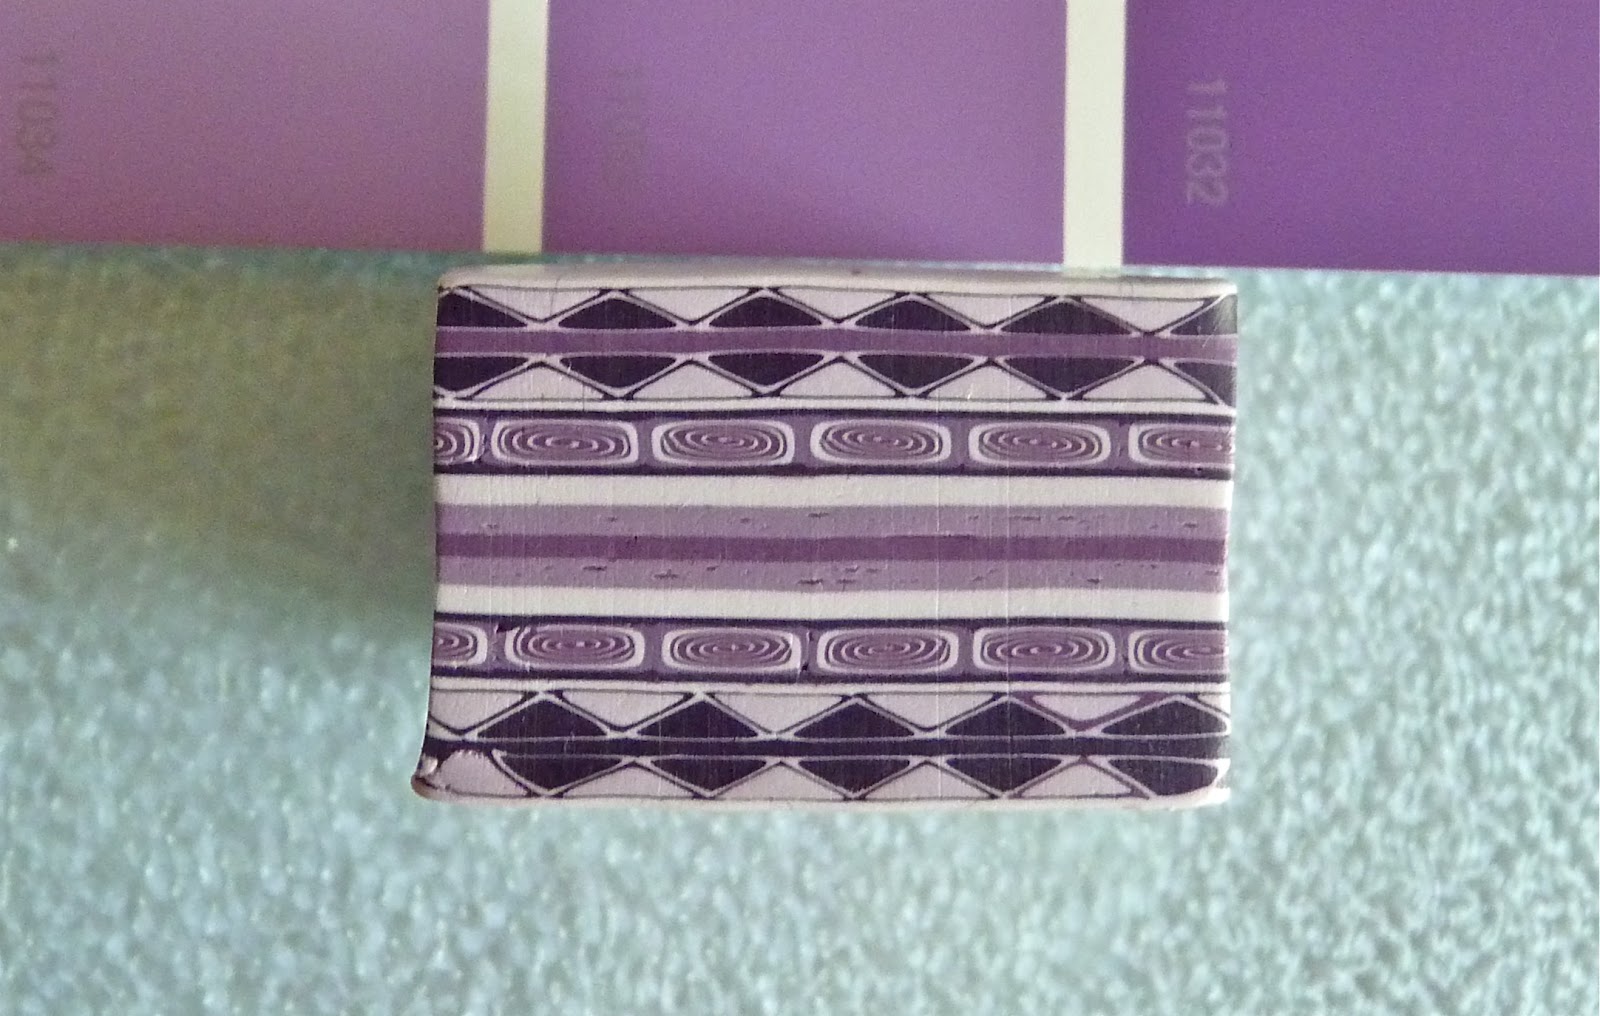
And here is the FINISHED BORDER CANE. The cane measures 1" wide x 1 1/2" long x 1 1/2" deep. This is smaller than most of the border canes I've made but it shows you how they are made.
As I gathered up the scraps I couldn't resist making at least one mirror image tile and a little square cane. I still have the end pieces that I trimmed off and some odds and ends scraps, they are always fun to play with.

I hope you find the tute useful. If you have any questions or need additional information please let me know. (Poor Bonnie can stop holding her breathe! She has to be dark blue by now!)
Thanks for stopping by.


