Sunday, June 17, 2012

YaYa Bracelets

I just made it in under the wire but the bracelets are done and winging their way to Texas.  Heather left this morning and will be back in 10 days.

Click on the photos for a closer look.

Shirley likes purple so I went through my bead stash and picked out an assortment of beads with purple as the dominant color.


Ginny likes anything weird or unusual, her taste is similar to mine.  While sorting out beads for Shirley's bracelet I ran across these little mirror image charms, they are a little weird so I thought they would appeal to Ginny. Thanks to Erl for suggesting a charm bracelet.


Babs love Hearts..... so I made her a heart bracelet.


Heather tells me Jeannie likes sailing..... this pattern reminds me of the ocean... rough waters before a storm... time to head for shore.


Nancy likes anything to do with the ocean so I picked these whirly beads with a "waves dancing in the moonlight" feel to make her bracelet.


Meg like dragonflies so I added a cane work dragonfly to the translucent leaf tile to make her bracelet.


Beth likes African prints and cats so I combined the two for her bracelet.  Joining the tiles with jump rings was a PITA but I'm pleased with the way it turned out..... just hope I got all the jump rings closed properly... Heather took a set of tools with her just in case.


That takes care of all the YaYa's... except Heather... fortunately she got a pretty bracelet from Moe ....which she made off with before I got a photo... I "borrowed" a photo of it from Moe's blog.  I will take a photo of Heather wearing it when she returns. As you can see Moe is a more talented "braceleteer" than I am.


That's it for today.  If you have any comments or questions I would love to hear from you.

Thanks for stopping by.


Sunday, June 10, 2012

Mixed Media Whirlwind Necklaces

I know I am suppose to be making bracelets but I got  new toys last week and couldn't resist playing with them.  I was surfing Amazon looking for hardware to make a "bracelet buddy" when I spotted this multi-mandril set.... looked like fun to me so I ordered one. There's a handle and four shapes, triangle, oval, round and square.

Click on the photos for a closer look.


I used the triangle to make the first necklace.... along with polymer clay beads and goldstone beads.

This is probably not the intended use for the mandrils but it popped in my head the minute I saw them. I like the whirlwind effect.


Back view showing how I finished the back of the pendant.


Close up of the wire work.


Hanging on a display.


The second necklace is burgundy wire and glass beads. I used the oval mandril this time.


I love these beads, I have them in several different colors.  The red looks pretty with the burgundy wire. I made a woven wire hook for the clasp.


Hanging on the display. I may have to keep this one, I really like it.


Now I am heading back to the clay room to work on..... bracelets!!  I haven't finished a single one..... and I have more new toys. A cool tool set and cabochon molds from Penni Jo, the Swellegant's from Christi Friesan and the nylon cutter sets and texture sheets from Shades of Clay.  At the rate I'm going the YaYa's may end up with necklaces this year.

Thanks for stopping by.

Wednesday, June 6, 2012

Translucent Leaf Cane & Leaf Bracelet

I'm killing two birds with one stone.  I am frantically making bracelets for the YaYa's... why do I put everything off to the last minute?   and it just so happens that the theme for  "Discussions from the Claypen" chat  tomorrow is "Translucent".  You should stop by and see all the pretties we are making.

 So, using Translucent Pardo Art Clay and my extruder I made a leaf cane. I know it looks like a heart but trust me... it's a leaf.

Click on the photos for a closer look.


I arranged the leaves on a backgound of silver leaf tinted with alcohol inks on green clay.


Then I cut a shape I liked and put it on the side of a jar to cure in the oven.


When I took it out of the oven I immediately plunged it in ice water being careful to keep the curved shape.


When it cooled I "painted" a thin layer of Kato Liquid clay on the backgound , put it back in the oven, when it came out of the oven I hit it with the heat gun to clear the liquid clay. Now I need to do a little sanding on the back and edges and it will be ready to make into a bracelet.


I have 4 bracelets in different stages...have 3 more to go..... any suggestions?   I don't make may bracelets so this is a bit of stretch for me.   I better get busy!!


Thanks for stopping by.

Monday, June 4, 2012

Orange Extruded Canes & Air-Filled Beads

I found this marvelous Air Filled Beads Tutorial by Page McNall on Flickr and I had to give it a try. I am very pleased with the results.  A very BIG "thank you" to Page for sharing.

First I used my extruder to make a couple monochromatic canes in Orange.  Mixing the colors was not easy, I kept adding a little more red.. no no, now it needs yellow, yikes maybe a touch of black... or maybe brown.... arrrrgh... I wanted the oranges on the paint sample..... after about a zillion tries I finally settled for these although they are still not exactly want I wanted.  Good thing orange is in this year cause I have a pile of it setting on my table!

Click on the photos for a closer look.

I was attempting a polka dot cane.... this is the best I could do.


Now for the exciting part.... the air-filled beads! They are a little different from Page's, I didn't cut out holes, instead used them as part of the design.


Aren't these fun?  I am going to make more in different shapes.


I even ordered sets of seamless nylon cutters from Shades of Clay to make larger ones.  Now I am tapping my toes anxiously awaiting the arrival of the package....  I ordered a couple new texture sheets too.  I need more texture sheets like holes in my head.... but I couldn't resist.  They do have marvelous textures from very talented artists. The postage from Canada was a little expensive, but not to bad.  Postage is soooo expensive everywhere.

Again a BIG "thank you" to Page.  It was very generous of her to share.  If you find any cool tutes,  or would like to share one of your own, please let me know.

That's if for today.

Thanks for stopping by.


Friday, June 1, 2012

Scotty Border Cane

First of all I must tell you what a THRILL it was to have my Border Canes featured on Polymer Clay Daily.  The response was amazing, I usually get 50 to  100 hits per day on my blog.... it's just a little blog that I do for myself, my family and friends.... so it was very exciting to see close to 5000 hits in one day.

Wednesday morning started like any other day, I fed the cats and the birds, I got my coffee and toast and settled in front of the computer to make the morning rounds... our Etsy shops, Polymer Clay Central, Facebook, Flickr, the newly added PCAGOE Forums and then my blog. What the heck!!   I almost choked on my toast when I saw all the comments on my blog,  I scurried over to Facebook where a friend had posted a link to MY BORDER CANES on Polymer Clay Daily..... I checked my email and the activity was mind boggling..... WOW!!  I returned to the blog and began reading all the lovely comments out loud to my feline friends, they were as impressed as I was.... I'm pretty sure I saw new respect in their eyes... well at least Fritz, he cocked his head to the side and gave me one of those "way to go" looks ( I suspect he thinks he's a dog) .... Corny, not so much.... she doesn't hang out in the clay room with me like he does,  she doesn't have a clue how much work goes into making a cane...it is beneath her, she has more important things to do.... her response, as she opened one eye... was more like "what are you babbling about now?"  She is really quite a snob!

The real fun began when my daughter arrived, she can read and talk...... and I don't have to bribe her with cat treats.... although an occasional cookie comes in handy.

In case you missed it here is a link to Polymer Clay Daily

Border Cane Tutorial on Polymer Clay Daily

When things calmed down I took a photo of a few beads and a bracelet I made using the Border Cane in the tutorial.  It's almost YaYa time .... this year I'm giving the ladies bracelets.


Then I made a Scotty Border Cane.  This was an experiment, the next one will be better. I'm not satisfied with the background, I should have kept it simple, maybe a marbled look would be better plus there are a couple booboo's on the Scotty.  With the top Border Cane I didn't run the row of scotties through the pasta machine but I couldn't resist.... the lower Border Cane shows the elongated scotties after going through the pasta machine.


I still play in the yard every day. The lilies are now in bloom. They are so pretty, I just wish they lasted longer.  Orange ones are under my clay room window.


Yellow ones in the side flower bed, they look pretty with the hydrangea,  I can see it from my window too.


My son gave me this pretty glass birdbath for Mother's Day. Right now it is sitting by the gazebo, it looks pretty under the hanging basket but doesn't show up well from a distance so I think I will move it to the back garden.


I gave the gazebo a trim, those trumpet vines grow really fast, it looks much better now.


Corny kept watch from her favorite spot inside the gazebo, she pretended she didn't know I was taking her picture... she is such a stinker!


That is it for today.... time to play with clay.

Thanks for stopping by.


Saturday, May 26, 2012

BJ's Border Cane Tutorial

At long last here it is....a simple version of my Border Cane.  I hope you like it and find it useful.  This is the cane we are going to make.  Click on the photos for a closer look.


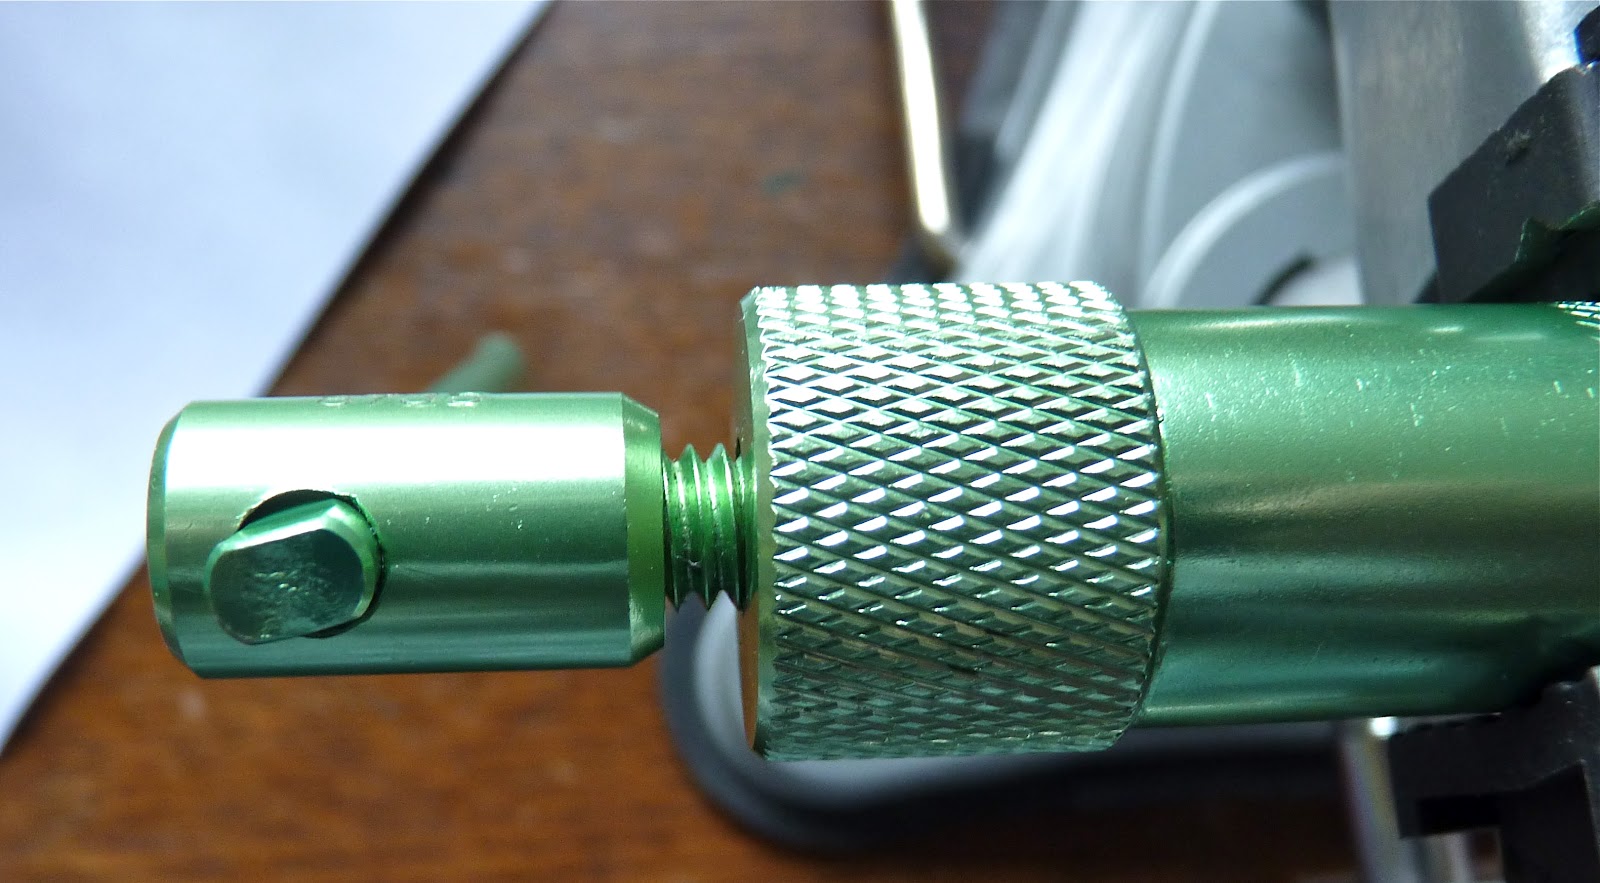
First of all you will need a pasta machine, mine is a "Monafied" Atlas so I will be referring to the settings on it.  And you will need a good extruder. I use a "Makin's Professional Ultimate Clay Extruder" and a "Workzone" vise.  The vise isn't a must, you can turn the extruder by hand but I'm old and have arthritis in my wrist so the vise saves a lot of moaning and groaning.. it works for me.

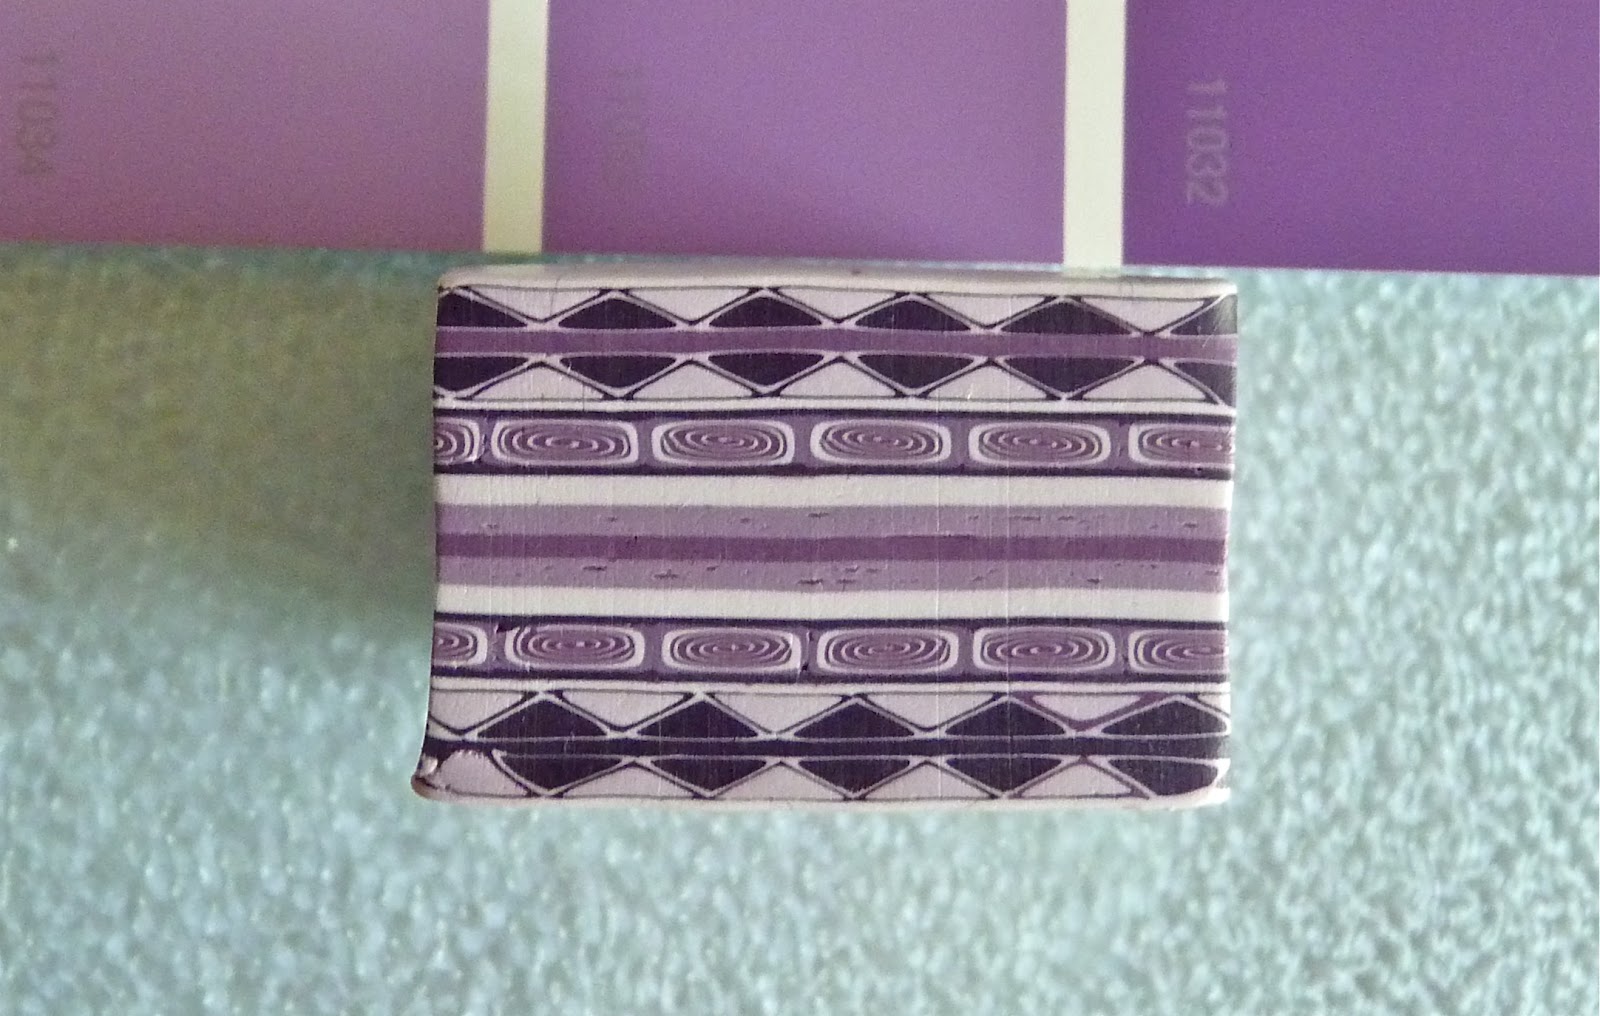
You will need to select your colors. I used shades of purple for this cane. You will need 3 shades of whatever color you choose, (or you can use 3 different colors) one dark, one medium and one light. I mixed colors to match a paint sample, you can see a portion of it above the cane. I use a combination of clays to get the right consistence. The new Premo and new Kato are both very soft for caning so I add other firmer clays, like older formula Kato translucent and/or white Pardo Art Clay (the kind in the blister packs, not the jars). You can also leach the clay until it becomes firmer but I don't have the patience to leach.  You want the clay to be firm enough to not squish when you work with it but not so firm that it's difficult to put though the extruder.... like Goldilocks you want it to be "just right".

First I made 2 bullseye canes and a jellyroll cane. One bullseye cane is the light color with a dark border, the other has a dark center with a light border.  To make the bullseye cane roll a log of light clay, run a sheet of the dark clay though the pasta machine to the #4 width and surround the log, do the same with the dark log and light border.

I made the jellyroll cane with long strips of all three colors, place the strips on top of each other and roll them up like a jellyroll.  Then add a border with one row of light clay and an outside row in the medium color.  If you need visuals, there are free tutorials on how to make both bullseye & jellyroll canes... just Google them.


Each of the canes should be approximately 1/2" wide and 3" long.


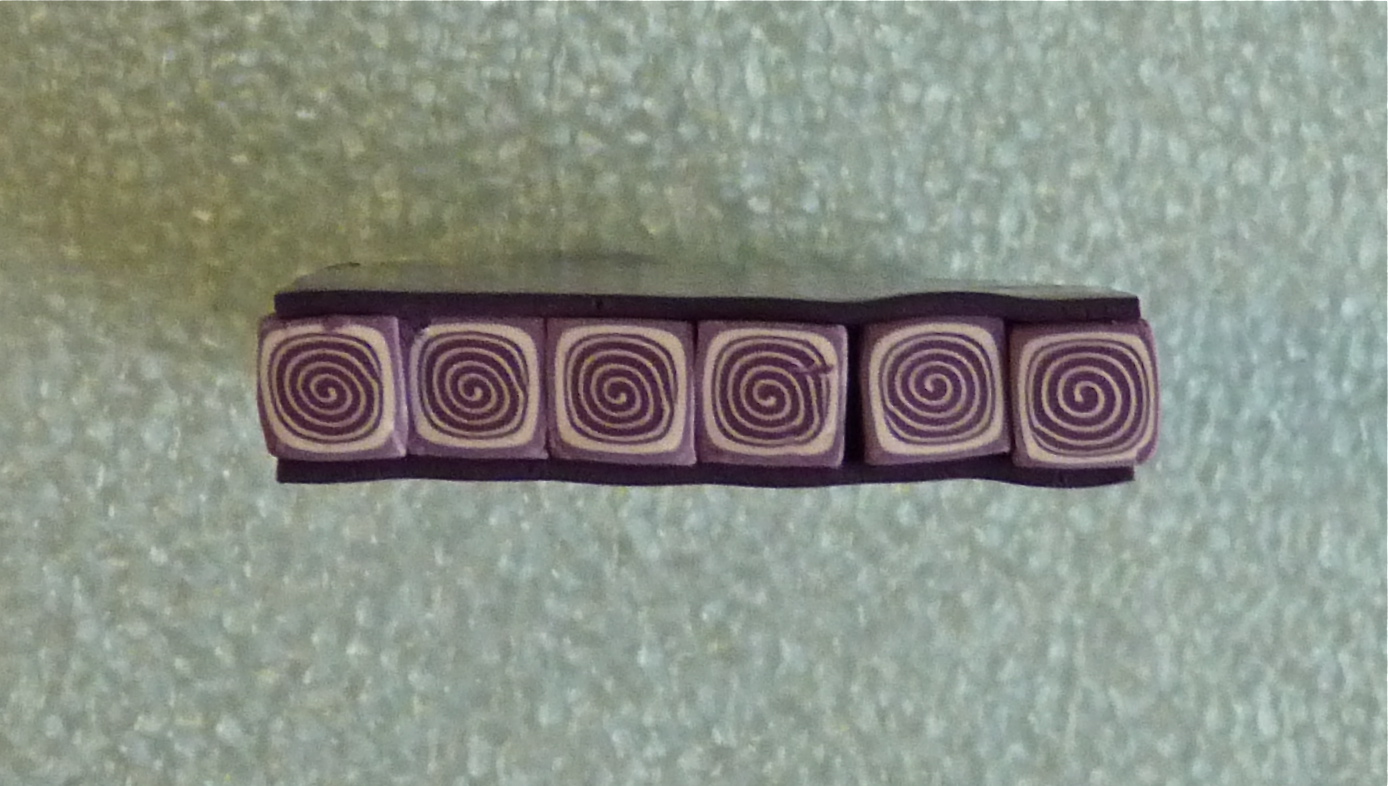
Using the square disk for the extruder insert the jellyroll cane into the barrel of the extruder. Make a 1/4" plug of the medium color clay and place it in the end of the extruder.  If you don't use the plug  the first part of the clay that comes out of the extruder is distorted, the plug avoids wasting the design.  It also just occurred  to me that I should have made a plug for the other end of the cane for the same reason... sheez, wish I'd thought of that earlier.


Secure the extruder in the vise and extrude away. My vise is an inexpensive one with a suction pad, the suction doesn't work on my table so I use a pasta machine clamp to hold it in place.


To save wear and tear on your extruder don't wind it all the way down, those last few turns are always the hardest and the last clay out of the extruder is wavy and unusable anyway.  Make those last few turn after you have removed the cap and can pull off the remaining clay,


The extruded cane will be quite long so you will need a long area where you can lay it flat. I have two work areas, one where I sit and one where I can stand.  The standing area is an antique postal desk so it is long enough for me to lay out long canes. I put down parchment paper beside my work area to lay the cane on and keep it clean.

Trim the first 1 1/2" To 2" off the end, that will be the"plug" and any distortion to the jellyroll cane.


Cut the extruded cane into 2" lengths


Lay them side by side


Here is how they look from the end.


Run a 2" strip of the darkest clay though the pasta machine to the #4 setting.  Lay it on the work area below the canes.


Pick the canes up by gently sliding the cutting blade under them and then place them on the dark clay strip.


Trim the sides of the sheet with your blade.....


....and again using your cutting blade pick it up, flip it over and place the uncovered side of the canes on the clay strip. Smooth the sheets in place and work out any air bubbles. 

.

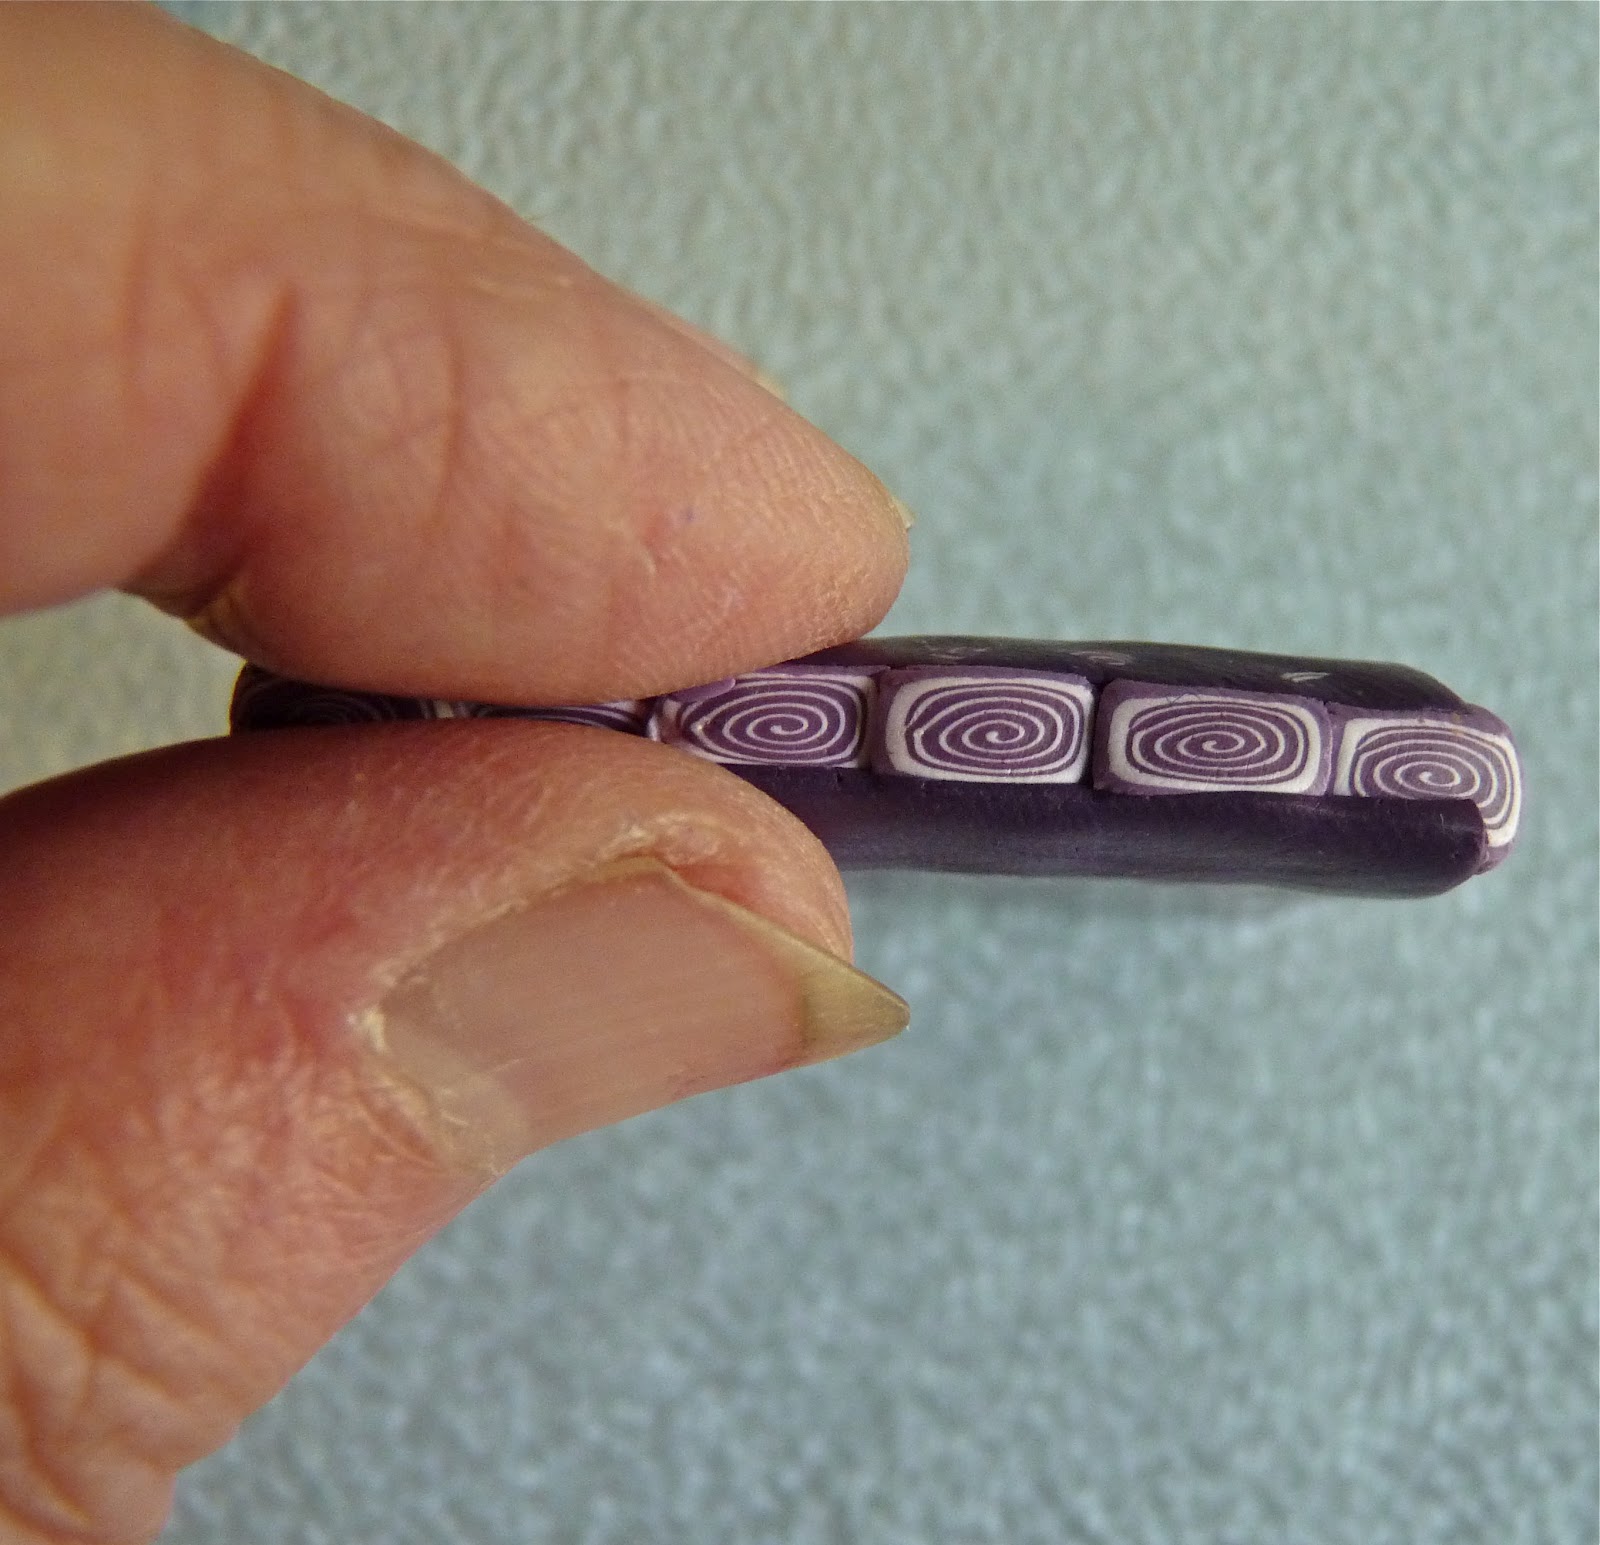
Both sides are now covered, this is how they look from the side.


 Now pick up the row of canes and gently pinch one end.. like so.  Yikes!  don't look at my ugly fingers and nails, I've been working in the yard.


Run  the strip through the pasta machine on the #1 setting, pinched end first. Take care to insert it evenly to prevent distortion.  Lay it out flat on the work area.


Trim the ends.


Cut in half and set aside.


Change the disk in the extruder to the equilateral triangle and get out the bullseye canes.


Insert one of the bullseye canes in the extruder, remembering to place a plug of the border color at the end of the cane. If it is difficult to slide the cane into the extruder lightly dust it with corn starch. I use a cotton hanky filled with cornstarch to dust a little onto the cane.


This extruded cane is going to be twice as long as the square one so extrude slowly so it won't kink or break.  Lay it out flat and cut into 2" lengths.


You should have 2 sets with 6 2" pieces in each set.


Now do the same with the other bullseye cane..... don't forget the plug....


Cut two sets of 6 to go with the others from the first triangle canes.  I had a couple extra, I can play with those later.


Place the dark triangles in between the light triangles making sure that both ends line up properly. Press them together.

Trim the ends.


Run a 2" x 2" sheet of the lightest color clay through the pasta machine to the #4 setting and do the same with a 2" x 2" sheet of the darkest clay. Place both sheets on the work area.  Place the triangle canes, light side down, on top of the dark sheet and trim. Slide the blade under the clay flip over onto the light sheet and trim as before.... clear as mud right, sorry.... I forgot to take the photos,  the end product should look like this.


Now do the same with the 2nd set of triangle canes.  Pinch one end like before.....


....and run through the pasta machine, pinched end first. Do  the same with the 2nd row of triangle canes.  As you can see, the 2nd one went a little wonky so I had to trim off that end.  Trim the ends on both sheets. .


The sides are ragged, I will take care of that later.  Cut each sheet in half.


Take the 2 pieces from the first sheet and fit together like so..... do the same with the 2 pieces from the second sheet. Set these aside for now.


Roll out sheets of light, medium and dark clay to #4 on the pasta machine.  Cut two 1 1/2" squares of light, two 1 1/2" squares of medium, and one 1 1/2" square of the dark  Assemble the center of the border cane by placing the squares on top of each other... light, medium, dark (in the center) then medium and light. 


Here is how they line up from the side.


Now we are ready to assemble the border cane.  Lay one of the jellyroll sheets on the work area, place the stripe center cane on top of one of the jellyroll canes and trim off the excess jellyroll cane.


Flip it over and lay on top of the 2nd jellyroll sheet and trim the excess once again. 


This is how it looks so far.


Now put the triangle sheets on each side.... like this.  and trim the ends.


The sides are ragged so stand the cane on end......


and trim the sides.  I usually don't have to trim as much as this but all the sheets came out of the pasta machine with ragged sides and they need to be cleaned up.


And here is the FINISHED BORDER CANE. The cane measures 1" wide x 1 1/2" long x 1 1/2" deep.  This is smaller than most of the border canes I've made but it shows you how they are made.


As I gathered up the scraps I couldn't resist making at least one mirror image tile and a little square cane.  I still have the end pieces that I trimmed off and some odds and ends scraps, they are always fun to play with.


I hope you find the tute useful. If you have any questions or need additional information please let me know.   (Poor Bonnie can stop holding her breathe! She has to be dark blue by now!) 

Thanks for stopping by.