For Day 5 I made a pendant and beads from left over clay.... it has the look of an abalone shell.
I didn't realize until I took the photos that this looks like a fish...
Click on the photos for a closer look
Now I can't decided which way to hang it.... what do you think?
down?
up?
swimming right?
swimming left? I made beads to go with it. I think maybe I'll add wire fins.... and an eye.
Here's more of the beads.
I also made a Mica Shift pendant with one of the textures.... now it looks like a bug instead of art nouveau... maybe it's an art nouveau bug.
I am going to cook dinner now..... see you tomorrow.
Thanks for stopping by.
Tuesday, February 5, 2013
Monday, February 4, 2013
Day 4 Thing A Day More Texture Sheets
I didn't get my nap today, I am tired, so this will be short. I am cranky when I'm tired.
Last night and this morning I made more textures. I was going for a Art Noveau look with the two in the center.
Click on the photos for a closer look.
I made a MG stack to try the first design... It's a bit messy, I haven't sanded it yet.
I used this one to imprint the clay then painted the sections with PearlEx. I will seal it with liquid Kato tomorrow. I'm not crazy about the color of the background clay. I will try again with black.
This one is painted with PearlEx too... These are just experiments. The hardest part is getting an even impression. I think I may have come up with a technique that works... I lay the texture sheet on the table, cover it with a sheet of raw clay, push down with my thumb to make sure the clay is in all the crevices then I place an acrylic sheet over the raw clay, pick up the "sandwich" and squeeze as hard as I can. I got so frustrated I considered putting it on the floor and stepping on it but decided that might be going to far... Hmm it just occurred to me, I wonder if the vise I use with my extruder would work.... worth a try... . I'll try it tomorrow and let me know.
I finally got around to shaving the stamped flower from Day 1. It's fairly big but I think it will make a fun pendant once I get it sanded.
That's it for today.... I'm going to bed.
Thanks for stopping by.
Sunday, February 3, 2013
Day 3 Thing a Day Textured Beads & Hearts
The poor birds in our area are so confused. We started out the week with temperatures in the 70's, by friday it was down to 10.... this morning we woke up to snow. The robins thought it was spring, I saw several on monday.... I bet they are freezing their tushies off today. It's overcast, cold and dreary, a perfect day for claying.
I used my texture sheets to make reversible beads. I rolled out hunks of clay in my hand to form an oblong bead and then squeezed them between the house texture sheet and the squares texture sheet to make these. I made big holes with a wooden skewer and then strung them on a ball chain.
This is the "house" side. I used PearlEx to highlight the windows.
This is the "squares" side. Again I used PearlEx to highlight the "dots"
I love this carmel color MG heart. The design is a lower corner of the big flower texture sheet. Hm, the design on the paper tells me this heart needs wire curlicues....
I used one of the experimental texture sheets for this heart. Didn't care for the way the texture sheet performed ....but I like the heart. I may add details with a micro pen or wrap with wire, or both, to jazz it up.
I made a sheet of clay from scraps.... it was suppose to be bead guts but after a couple passes through the pasta machine this oxidized copper look appeared... to pretty for guts so I cut out a couple hearts and then formed the critter from the leftovers. Heather thinks he looks like a pooch, I kinda see a giraffe.... I am a big fan of scraps, some of my favorite pieces were made with scraps.
I used various tools to impress the designs and high lighted with PearlEx.
Okay, I am going back to the clay room to work on something for tomorrow... more texture sheets? a border cane? I can't decide, I will let my muse decide.
Thanks for stopping by.
Saturday, February 2, 2013
Thing a Day Day 2 Heart Beads & Tiles
I had planned to show you the big beads I'm making with the house and squares texture sheets.... a couple are still in the oven so I will wait until tomorrow.
Today I will share the layered & textured hearts I made for a necklace. Click on the photos for a closer look.
Close up of the textured gold hearts adorned with mirror image hearts.
Close up of the layered rectangles.... also with mirror image hearts.
I used the scraps to make complimentary beads, round and swirlies, to use with the hearts.
That's it for Day 2... I will now take the other beads out of the oven .... I heard the timer go off... it's also time to make my hubby lunch, he keeps wandering by with that "feed me I'm staving" look on his face. .... and then I am going to take a nap. See you tomorrow.
Thanks for stopping by.
Friday, February 1, 2013
Thing A Day Day 1 Polymer Clay Texture Sheets
I'm excited!! Today is the first day of the annual "Thing a Day" Challenge on Polymer Clay Central. This is our sixth year. Seana started the challenge 6 years ago, at first it was a challenge to herself and she invited other to join in... we did, it was fun and we agreed to meet each year and do it again.
To see the challenge... or join in... you are all invited... go to Polymer Clay Central, click on the "Message Board" tab on the left or click on it here and then click on the TAD thread for each day.
I am also taking part in a Swap on Facebook.... the theme is "Hearts & Texture Sheets". I've been working on textures all week.... some worked some didn't. Here are the results.
This is the first one I made using scrap clay. I grabbed a hand full of scrap clay, mostly Kato and Premo scraps, might be a bit of Pardo and Fimo.... ran it through the pasta machine to get an even color. This took me forever because I kept coming up with colors that I really liked and wanted to save... finally a yucky gray... so I got out assorted tools and do dads and made this. I tested it with gold Kato clay. I used corn starch as a release and it worked okay... but it did stick a little so I went back to the drawing board.
I have this cheapy "Craftsmart" clay that I bought at Michaels some time back. It's not good for much but I thought it might work for a texture sheet.
Again I used assorted tools to make a design. I tried both corn starch and water for a release but each time it stuck a bit and the the Craftsmart clay is kinda rubbery.... not what I wanted.
Third time is a charm... A few years ago some place on line was selling a whole bunch of Red Golden
and Lilac Pearl Sculpey for 50 cents a pack.... I don't normally use Sculpey but I was buying other stuff and they offered free shipping with X amount of purchase... and I have a hard time passing up a sale... so ended up with many packs of strange colored Sculpey. I'm pretty sure I paid more for the clay than the postage would have cost but my theory is "you just never know when something might come in handy" just ask my kid... she's always saying things like "No, you do not need to save yet another oatmeal box!" or "Mom, why do you need ALL these burnt out light bulbs" I'm pretty sure she throws things away when I'm not looking.
To make a long, boring story shorter.... I am very pleased with the textures sheets I made with the Sculpey. I can't show you the ones I made for the swap right now.... I will when my partner in Japan recieves them.... but here are others I made. I used a different technique with these, I like it better than the impression I made with the ones above. I haven't shaved the impressed sheet yet.. I experimented with a corner sample, see, above the other two. I used corn starch for the release and it worked great.
Here are a couple more sheets I made with the Sculpey. The first is geometric squares and the second is a row of houses... I can see all kinds of possibilities for this technique..... can;t you?
I tested the houses on Kato clay.... and I used it to make the big beads.
I am working on more beads that I will show you tomorrow. It is going to be a busy month!!
Thanks for stopping by.
Friday, January 25, 2013
Dora's Polymer Clay Cane "Behold"
My muse is on vacation. I want to clay but I can't come up with an original idea. Every time I go back to clay I end up cleaning drawers and rearranging.... which most likely means I won't be able to find anything... I am my very own Easter bunny.... I put things away, can't remember where I put them... so I just pretend I'm hunting Easter eggs... may as well enjoy this "second childhood" ....right?
Okay, in order to clay I decided to try another tutorial that I have stored on my Pinterest "tutes" board. This time it is one by Dora Arsenault. She has lots of good cane tutorials on her blog, this one she named "Behold" cane
After spending 10 minutes trying to decide on colors... I told you my muse was MIA.. I finally said "to hell with it" and used the same colors as Dora.
Here is the canes I made.... click on the link above for the tute.
I like the "9 square"... here's a close-up. If you want a closer look just click on the photos.
I used it to make beads.
Close up of a bead. I like using square canes to make round beads.
That's it for the clay but I did get out my wire and complete a couple more necklaces.
I like this pendant, it went together really well and looks good on. I used amber wire to fit the pieces together and then strung it on a green waxed cotton cord.
I like how this one turned out too. I added wire and beads to the center of the pendant then made matching links to finish the necklace.
Close up of the embellishment on the pendant.
That's it... tine for nap.... or maybe a snack.... probably both.
Thanks for stopping by.
Monday, January 21, 2013
Adding Wire & Beads to Polymer Clay
I haven't done much claying since Christmas but I did add wire work and beads to some of the polymer clay pieces that I had lying around.
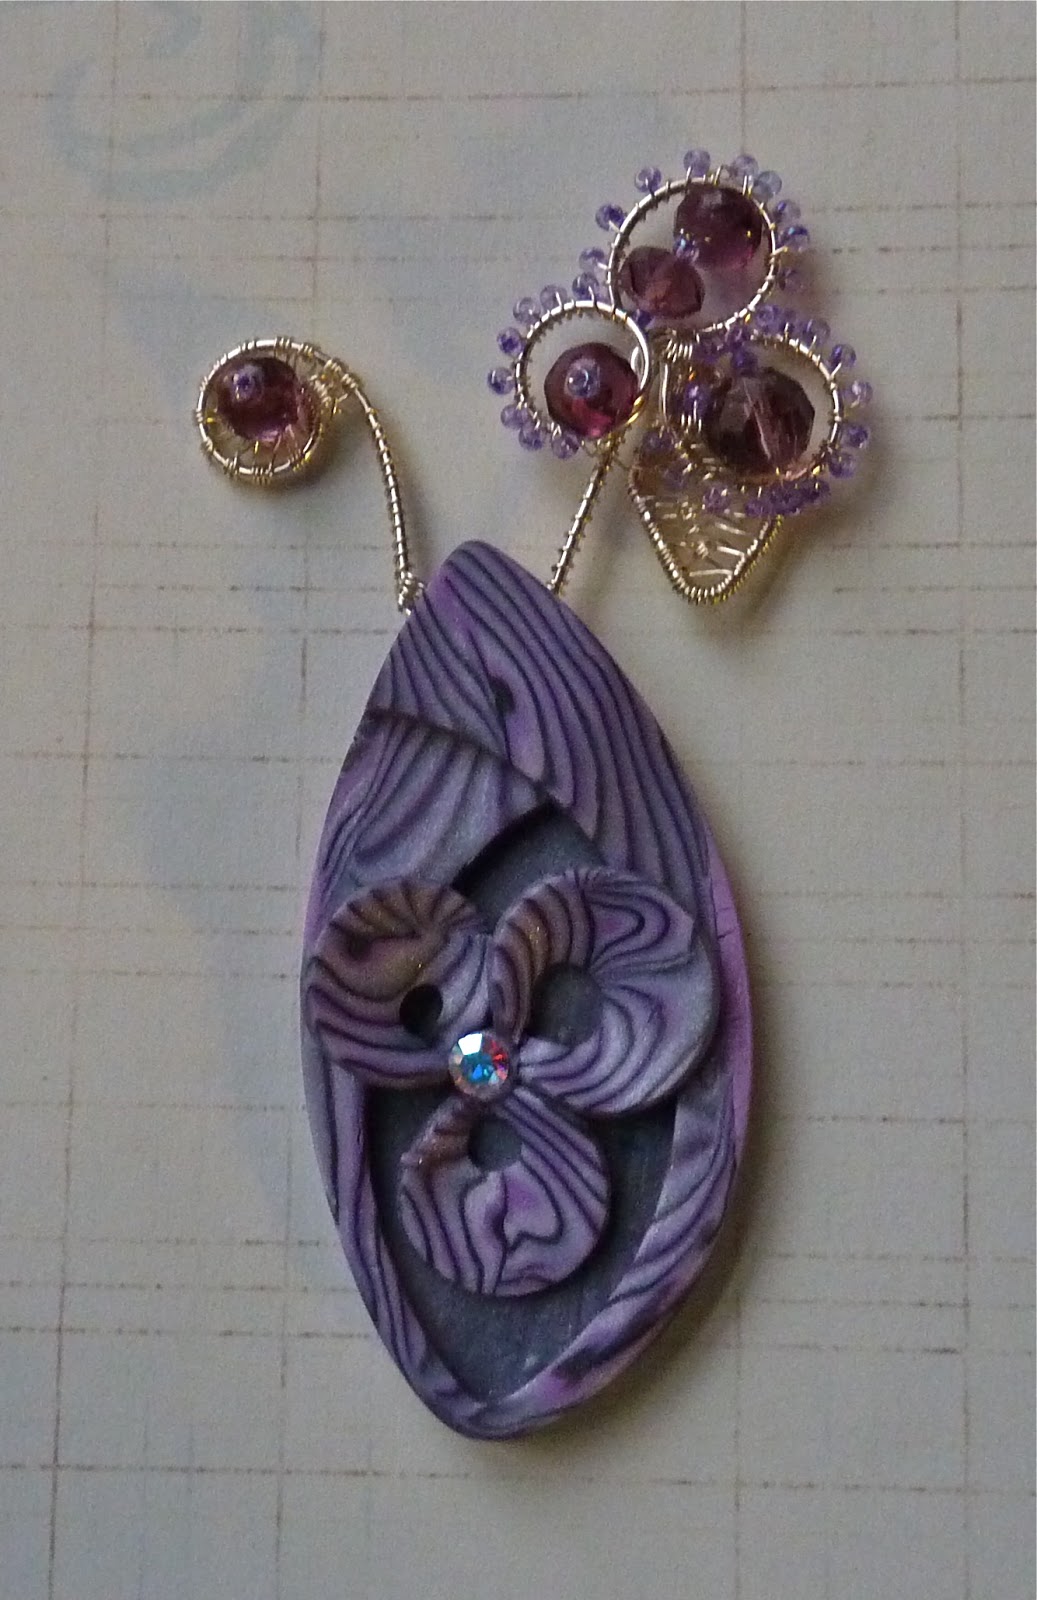
I added silver tone wire and glass beads to this purple piece to make a mixed media brooch.
Click on the photos for a closer look.
This poor ostrich has been hanging out with the peacocks..... notice his stylish peacock hairdo.....
I used 18 gauge silver tone wire wrapped with 28 gauge wire and seed beads for his head, tail and legs.
I used a simple striped circle of polymer clay as the focal for this pendant framed with amethyst 18 gauge wire wrapped with 28 gauge wire and seed beads. I made a matching chain with hand made jump rings.
I used wire and beads to add a little bling to this simple leaf textured polymer clay pendant. I am working on a matching chain.
And last but not least.... this is my favorite.... I strung this mirror image pendant on black waxed cord tied with spaced Chinese button knots instead of wire or chain. I added a drop of rose quartz beads. I am pleased with the way it turned out. Heather listed it, and the necklace above, in my shop on Etsy, Knightwork Studio
That's it for today. I joined in another Facebook swap, this time the theme is hearts and a handmade texture sheet.... that is my next project.... along with canes. I am in a cane making mood.
Thanks for stopping by.
Subscribe to:
Posts (Atom)